Please use this form to opt-in to informational SMS messages from the university. Questions? E-mail dot@ciis.edu
SMS opt-in
February 7, 2025

Please use this form to opt-in to informational SMS messages from the university. Questions? E-mail dot@ciis.edu
CIIS utilizes Microsoft Azure single-sign-on for systems access. You will be issued a university email address (@mymail.ciis.edu) as a log-in credential for this purpose .
Setting-up your university email.
Navigate to https://outlook.office.com/ (opens in new tab)
2. Select Next
3. Set-up account recovery information and select finish once complete.

Your courses will be accessible in the Canvas Learning management system. Canvas will send email notifications about changes in the virtual course and communications from other students, mentors and instructors to your CIIS university email address. If your do not intend to check your CIIS university email regularly, it can be forwarded with the following steps.
Canvas direct URL: https://ciis.instructure.com/
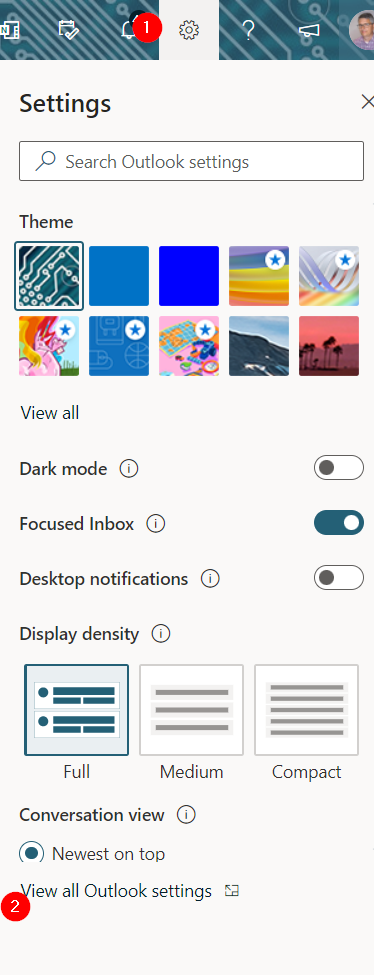
On the https://outlook.office.com/ webpage, select the gear icon at the top right, expand, and select “View all Outlook settings.”
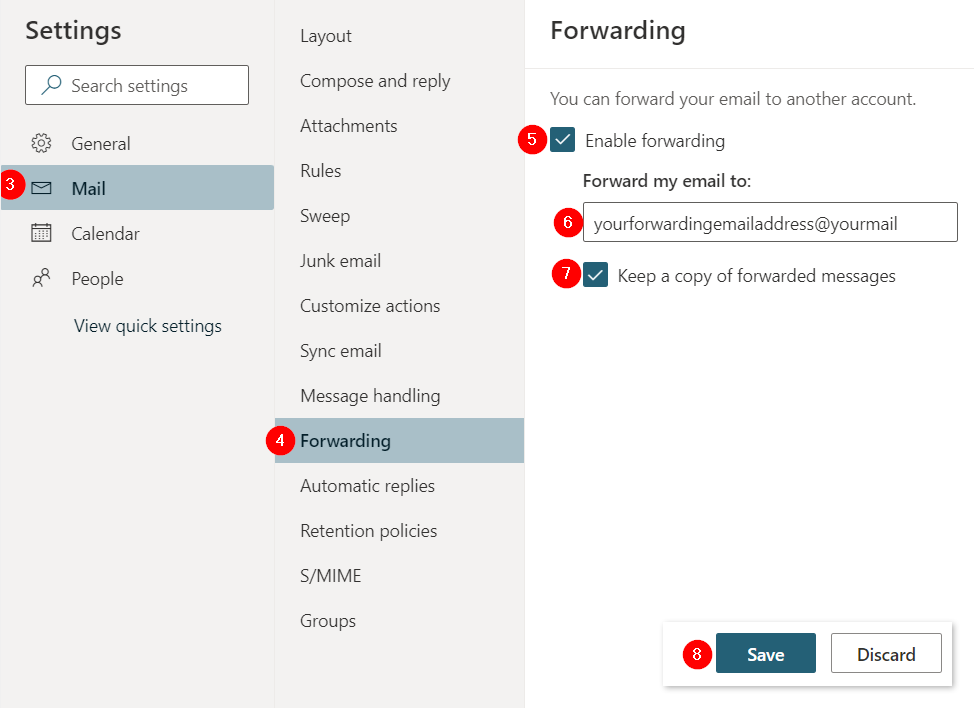
On the Outlook settings page, add email forwarding information and Save.
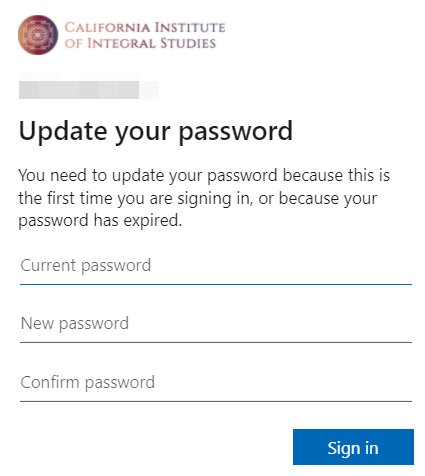
Follow the steps at the following link to reset your university email password and to reset your password to unlock your account.
This method requires that a mobile number was added to your email account at the time of set-up; a security code will be sent to that number by SMS to reset your password.
reset email password link
The video below demonstrates Acclaim, a video platform that integrates with Canvas (getacclaim.com). Acclaim allows students to easily receive timestamped feedback on their video submissions. By pinpointing important moments within a video, instructors can provide precise and tailored critiques.
Since classes were first virtualized in March 2020, instructors have effectively used Acclaim in courses that emphasize student presentations and roleplay exercises, among other activities.
Click here for an overview from Acclaim.
For a demonstration of Acclaim and Canvas, play the video below or click here to open it in a new tab.
Contact onlinelearningsupport@ciis.edu. A limited number of licenses is available.
See the following support articles for setting up Acclaim:
If you have previously accessed Canvas and now cannot with your university email address and email password, please:
If you are still unable to log in using your CIIS email credentials, verify you are not logged in to another Office account (work, school, personal) in the same browser.
Log out of Office. Then, using the same browser (e.g. Chrome), log in to Office using your CIIS email credentials and sign in to CIIS Canvas.
How to log out of Office:
How to log in to office.com using your CIIS email address and email password:
Canvas student accounts are created within 72 hours after a student’s first successful course registration. Any subsequent student enrollments are added to Canvas 24 hours after registering. Email CIIS IT at support@uswired.com for account verification if you are not able to log-in to Canvas with your university email and it has been at least 24 hours after you registered for your first course at the university.
For all other non-degree program Canvas users who are not able to log-in with their university email address (Public Program, Center for Psychedelic Therapies and Research), who may or may not have been issued a university email address, verify your Canvas account status with the program office.
If you are having trouble logging in to your CIIS email account or don’t have access to your email password, then please contact CIIS IT at support@uswired.com.
If you had previously accessed Canvas and are not able to log-in from this URL with your university email address and email password, email onlinelearning@ciis.edu for support.
Thank you, Online Learning
If you are adding media to a Discussion post, go to the Discussion forum in Canvas and click Reply.
 It is generally near the middle of the second row of the menubar. If you do not see it immediately, first expand the menubar by selecting the More button which looks like 3 stacked dots:
Assignments
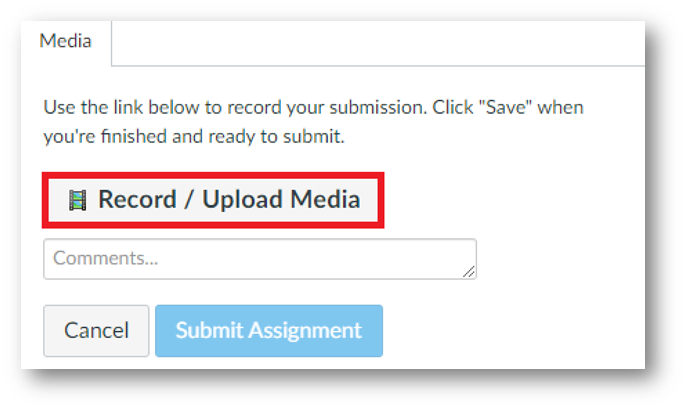
If you are a student submitting media as an Assignment, go to the Assignment in Canvas. Then click the blue Start Assignment button:![]()
 In the window that opens, select the Upload Media tab and Select Video File:
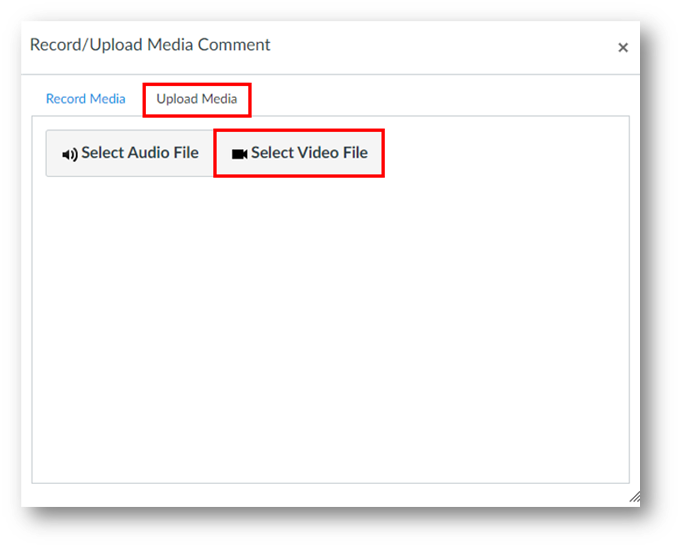
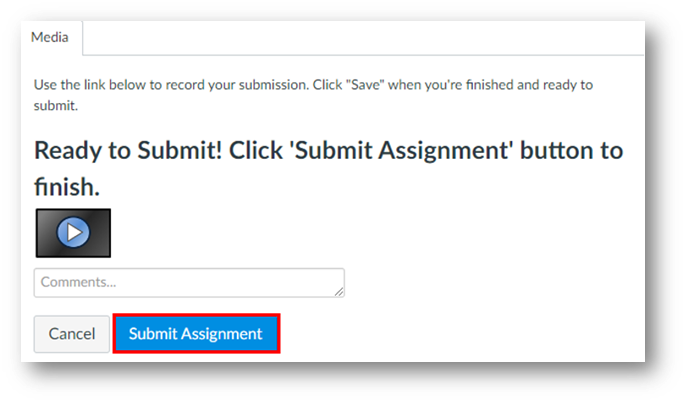
Click the Upload File button and select Choose File. In the window that opens, navigate to the video that is saved on your computer and select it. Then in Canvas, click the Submit Assignment button: 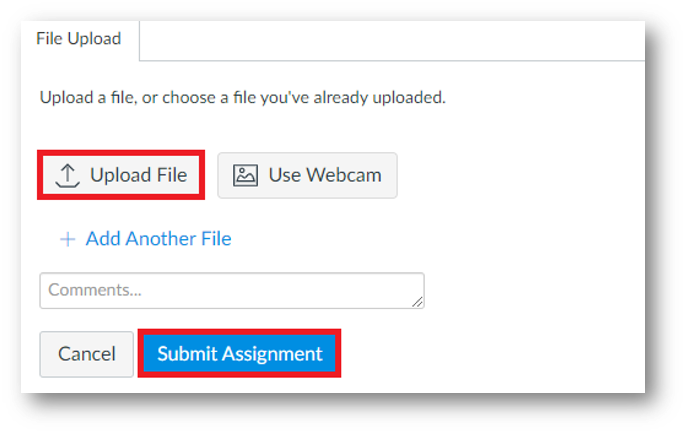
The video below demonstrates how to embed a Google Doc (or other collaborative Google item) into a Canvas Discussion as an iframe. This method can also be used in Canvas Announcements, Assignments, Pages, and Quizzes.
Users will be able to collaborate on the document from Canvas directly.
Click here to open the video in a new tab, watch the video embedded below, or scroll down for written instructions.
<p>
<iframe src=https://docs.google.com/document/d/e/2PACX-1vQ_-d2z9L7_I_pU8ETrmgiam6U5MYCdY_1keUQkX6imIGmN8TsK7Nu2VnE_6k4C0cFf1zSh8_fUINQ8/pub?embedded=true width=”800″ height=”800″></iframe>
</p>


Click the Save button at the bottom right.
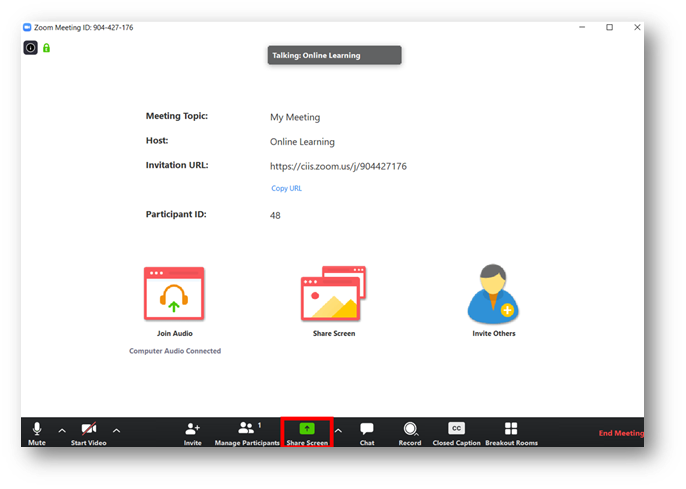
For security reasons, Participants are not automatically allowed to screenshare.
To allow Participants to screenshare, the Host can update options from within a meeting. Please see the Allow Participants to screenshare in Zoom (Host only) article.