Control grade visibility by posting grades manually when you are ready.
By default, Canvas courses will post grades automatically, as soon as they are entered in the Grades tab or submitted in SpeedGrader.
You can choose to “mute” grades by changing the Grade Posting Policy. This allows you to grade everyone in the class before “releasing” grades for an individual Assignment. We recommend that this be done before grading begins.
You can set the policy at the course level or at the individual Assignment level. Please note that Assignment-level posting policies will override the course-level posting policy.
The manual course posting policy is not retroactive. If you select it after grades have been entered, any grades that were already posted will remain visible. If you wish, you can hide grades.
Please note that the Hide grades function is different from the Grade Posting Policy. Hide grades should be used sparingly, i.e., to temporarily hide grades posted in error. If you have questions about the Hide grades feature, please contact onlinelearningsupport@ciis.edu.
Set the Policy at the Course Level
For a demonstration of steps #1-3 below, play the video or click here to open in a new tab.
To hide or show subtitles while playing, select the CC icon: 
To jump to a specific section, select the table of contents icon:
 You can select a chapter (on certain videos only), or type a term into the search field and select a returned result.
Set the Policy at the Assignment Level
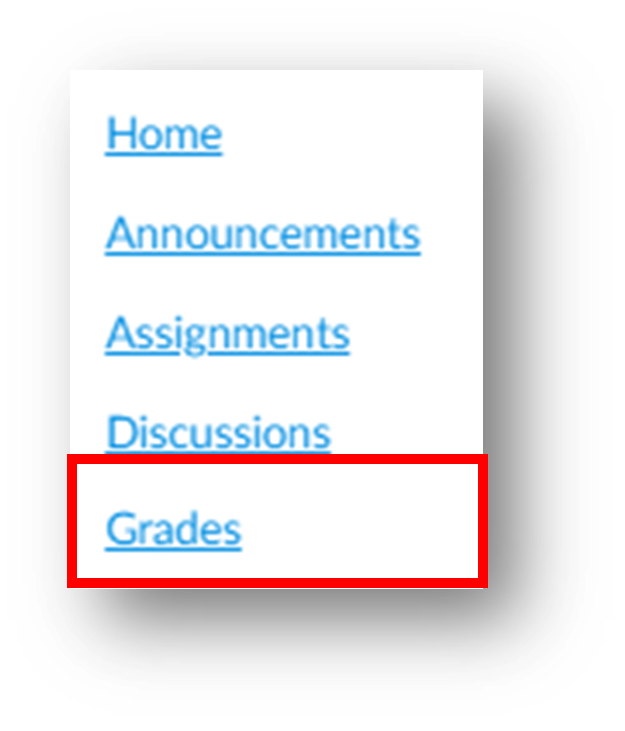
- Click Grades from the course navigation menu:
- Select the settings icon near the top right:

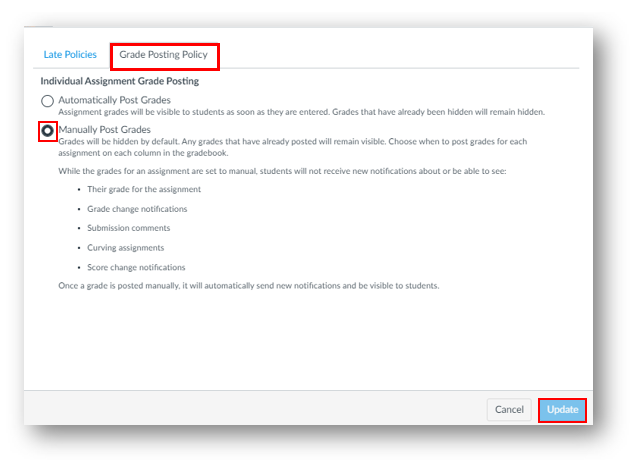
- In the window that opens, select the Grade Posting Policy tab, then select Manually Post Grades. Then click Update at the bottom right:
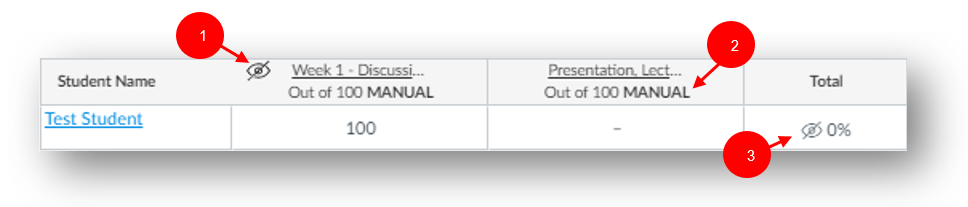
- When a manual posting policy has been applied and a grade has been entered, the Assignment header displays a Visibility icon [1]. This indicates that a manual posting policy is in place. You must manually post the grades before they can be viewed by students. Also, if a manual posting policy has been applied to a course, all Assignment headers will display the Manual label [2]. The Total column will also display a Visibility icon [3]. This indicates that the grade in the Grades tab is different from the total grade viewed by the student.
- When you are ready, post the grades.
Set the policy at the Assignment level
- Click Grades from the course navigation menu:
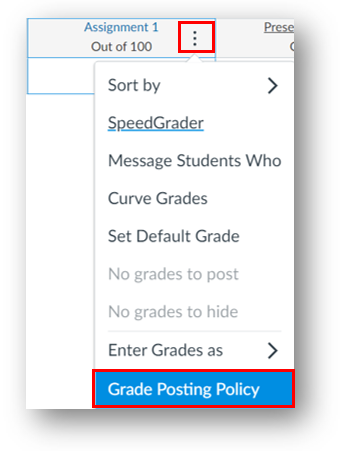
- Hover over the Assignment column header and click the Options icon, then click Grade Posting Policy:
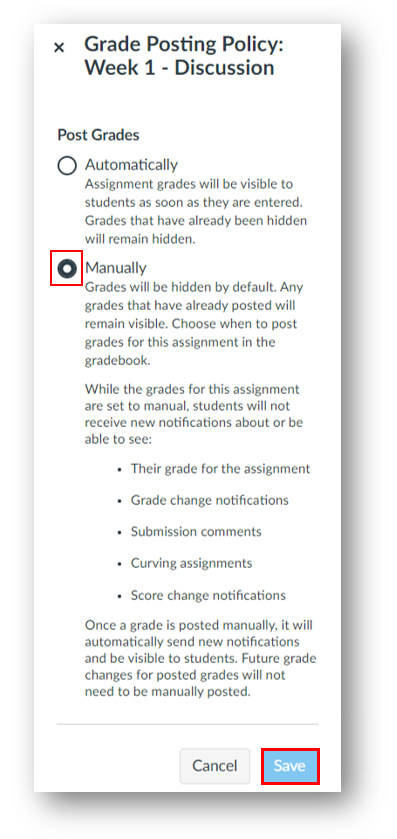
- Select Manually in the tray that opens to the right. Then click Save:
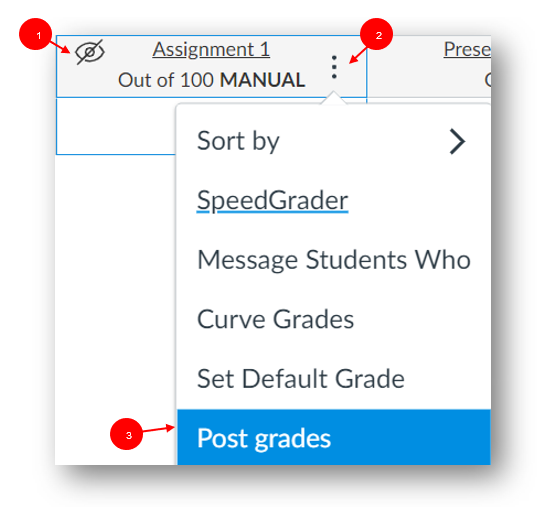
- When a manual posting policy has been applied and a grade has been entered, the Assignment header displays a Visibility icon [1]. This indicates that a manual posting policy is in place. You must manually post the grades before they can be viewed by students. Also, if a manual posting policy has been applied, the Assignment header will display the Manual label [2]. The Total column will also display a Visibility icon [3]. This indicates that the grade in the Grades tab is different from the total grade viewed by the student.
- When you are ready, post the grades.
Post the grades
- Any Assignment with grades that are not visible will be indicated by the Visibility icon [1]. When you have finished grading everyone, hover over the Assignment column header and click the Options icon [2]. Then select Post Grades [3].
 A tray will open to the right. Select to post everyone’s grades, or only those who have received a grade or submission comment. Then select Post:
- You will see a success message once grades have been posted:


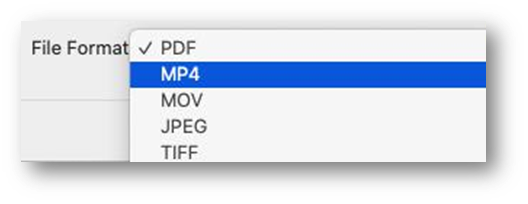 4. Select Export.