Create smaller image files by using your device’s screenshot function
Macintosh computers
Take a screenshot and save it as a file
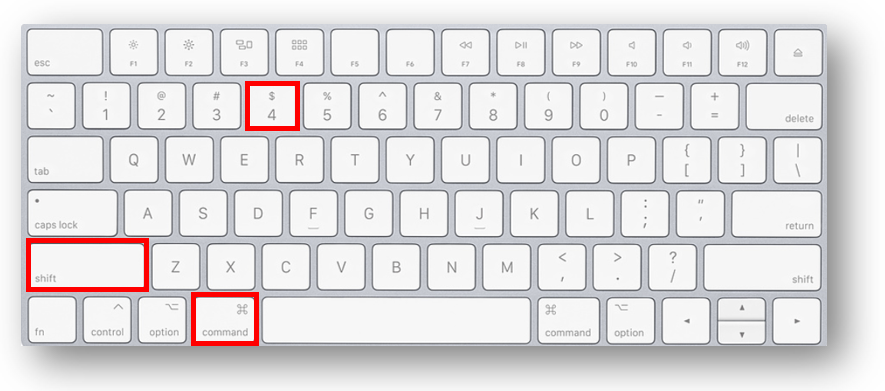
- To save a portion of the screen to your computer, on your keyboard press Command–Shift–4 simultaneously:

- Your cursor will change to a cross-hair. Click and drag to select the area you wish to capture.
- Release the mouse button.
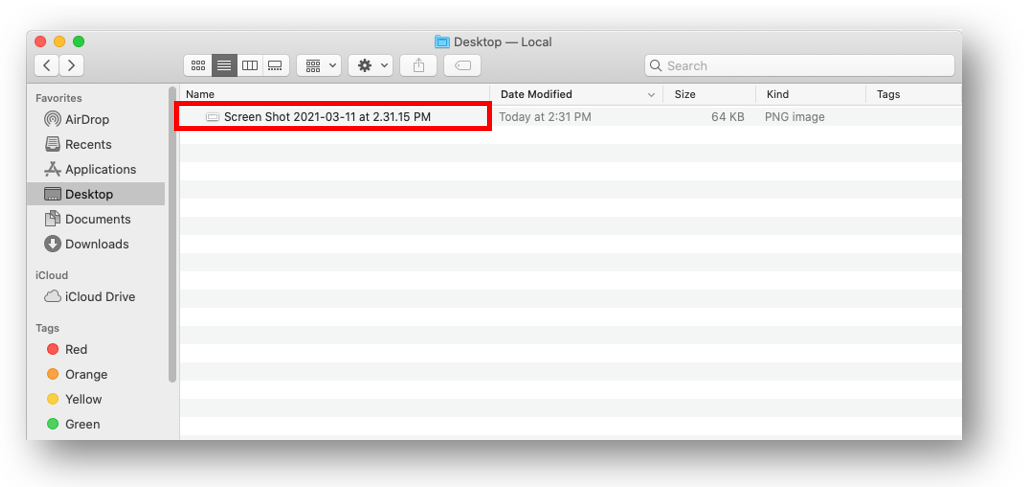
- The image will automatically save by default as a .png file to your desktop. It will be called Screen Shot with the date and time, for example:

- You can upload it to another app as needed.
Take a screenshot and paste it
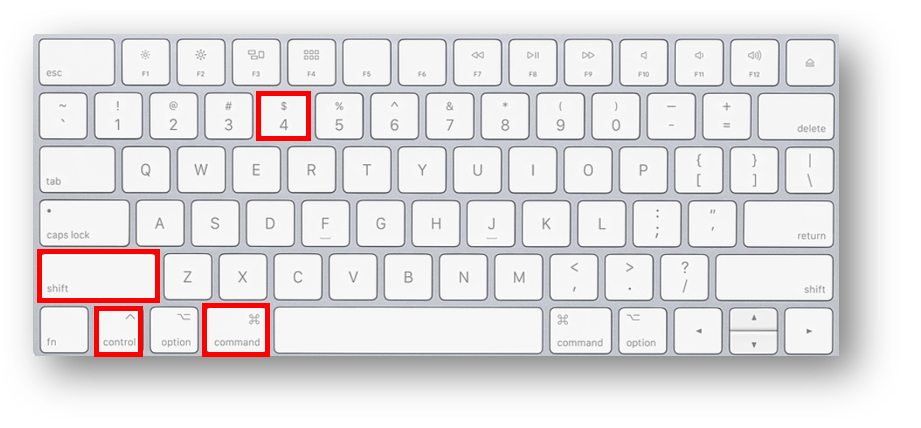
- To copy a portion of the screen to the clipboard, on your keyboard press Command–Control–Shift–4 simultaneously:

- Your cursor will change to a cross-hair. Click and drag to select the area you wish to capture.
- Release the mouse button.
- In your other application (e.g. Word), paste the screenshot.
Windows computers
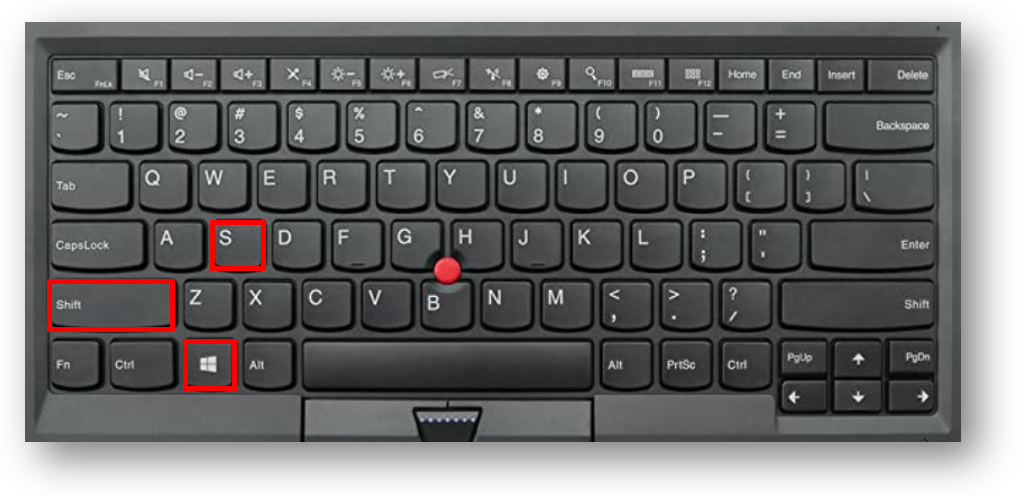
- To copy a portion of the screen to the clipboard, on your keyboard press the Windows key + Shift + S:

- Your cursor will change to a cross-hair. Click and drag to select the area you wish to capture.
- Release the mouse button.
- In your other application (e.g. Word), paste the screenshot.
If you wish to save it as a file instead of copy-pasting it, then open an image editing program (e.g. Paint). Paste it there, then save it as a .png or .jpg file.
A JPG file should be fine in most cases. (While the quality of JPEG files might be slightly diminished due to compression, the file size will be smaller.)
