This article only applies to Zoom accounts that are managed by Online Learning.
If your class meets virtually–but your meeting links are not sent by VCL@ciis.edu–then the settings for your Zoom meetings may be different.
For questions about Zoom meetings that aren’t managed by Online Learning, please contact the Zoom account owner (possibly your program) or CIIS IT support@uswired.com.
This guide describes the auto-transcription service using the Zoom desktop client.
For details on Zoom auto-transcription for other devices, as well as the latest information on captions and transcripts in Zoom, please see the Zoom support article.
Prerequisite for auto-transcriptions in Zoom: version 5.0.2 or higher in the Zoom desktop client or Android/iOS mobile app.
Auto-transcription is not yet available in breakout rooms.
What is the difference between subtitles, closed captions, and transcripts in Zoom?
Subtitles (recommended): Convey dialogue as written text. Zoom can provide automatically-transcribed subtitles.
Closed captions: Convey both speech and non-speech elements. Unlike subtitles, they can include descriptions such as [dog barking]. In Zoom, closed captions require a typist who is assigned by the host to provide manual captioning or a third-party closed captioning service.
Transcripts: Convey speech. Zoom can provide automatically-transcribed transcripts. Searchable text with timestamps can appear as the side panel of the meeting.
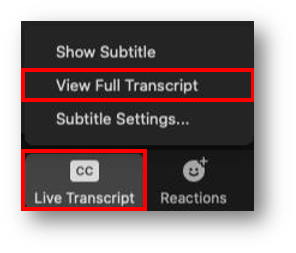
Once the Host selects Enable Auto-Transcription, everyone will have several options. Each Participant can make changes to their own display (the Host cannot change the display globally):
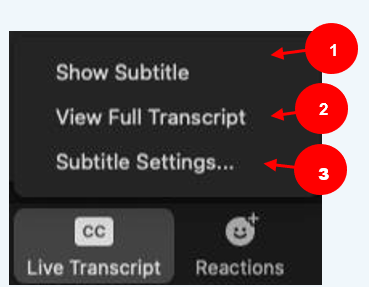
Show Subtitle [1] displays subtitles on the screen.
View Full Transcript [2] displays subtitles in real time with the speaker’s name and a time-stamp within a panel to the right. (If you had the Participants and Chat panels open, the Transcript will replace them).
Subtitle Settings [3] will open a window where you can adjust the font size of both the subtitles and the chat window.
Enable auto-transcription (Host)
- In the black Zoom toolbar, the Host must click the CC Live Transcript button. (If you do not see it immediately, first select the More button, then Live Transcript).
Then select Enable Auto-Transcription:
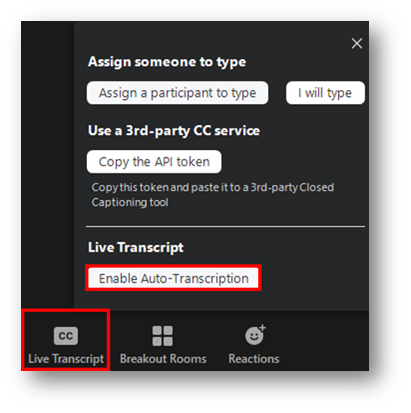
This will enable captions for all Participants to view. A CC button will appear in their Zoom toolbar: 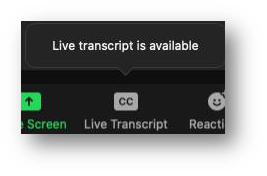
View Subtitles (Participants)
- To view subtitles, Participants can click the CC button:
 and then Show Subtitle:
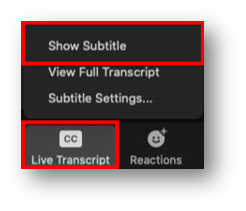
- Students will display in real time within the Zoom meeting.
- (optional) Participants can adjust their own subtitles as follows:
- Move the position of the subtitles in the meeting window by clicking and dragging on it:

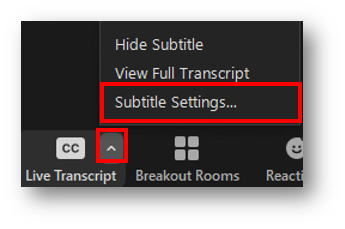
- Adjust the caption size by clicking the up arrow ^ next to the CC button and selecting Subtitle Settings:
 Then move the slider to adjust the caption size:
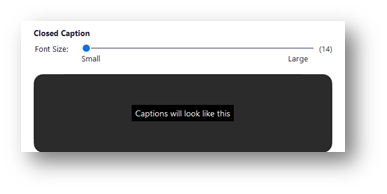
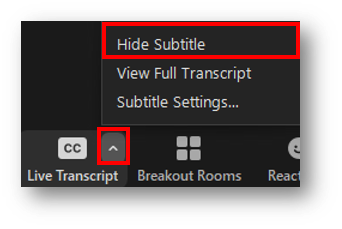
- Participants can hide subtitles by clicking on the CC button and selecting Hide Subtitle:
View Transcript (Participants)
- To view the Transcript, Participants can click the CC button:and then View Full Transcript:
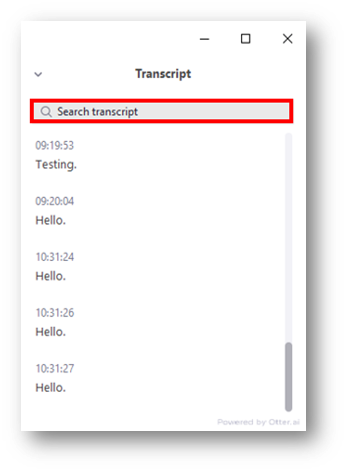
- The Transcript will display as a panel at the right of the meeting.
- (optional) Participants can adjust the Transcript as follows:
- Use the Search transcript field at the top of the side panel:
- Close or Pop Out the Transcript by selecting the downward arrow icon:
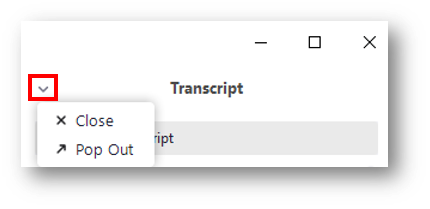
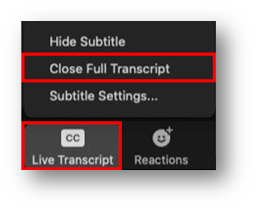
- Participants can close the Transcript panel by clicking the downward arrow icon and then Close within the Transcript pane: Alternatively, they can click the CC button then select Close Full Transcript: